In this article we will look at how to install Linux on Raspberry Pi with detailed step-by-step instructions and about Raspberry Pi interfaces.
Raspberry Pi supports various flavors of Linux including:
Raspbian: A Debian Wheezy port optimized for Raspberry Pi. This is the recommended Linux for Raspberry Pi.
Arch: Arch is an Arch Linux port for AMD devices
Pidora: Pidora Linux is a Fedora Linux port optimized for Raspberry Pi
RaspBMC: An XBMC media-center distribution for Raspberry Pi
OpenELEC: A fast and user-friendly XBMC media-center distribution
RISC OS: A very fast and compact operating system
Following are the steps for headless installation (without connecting any peripherals) of Raspberry Pi OS on Raspberry Pi 4 Model B:
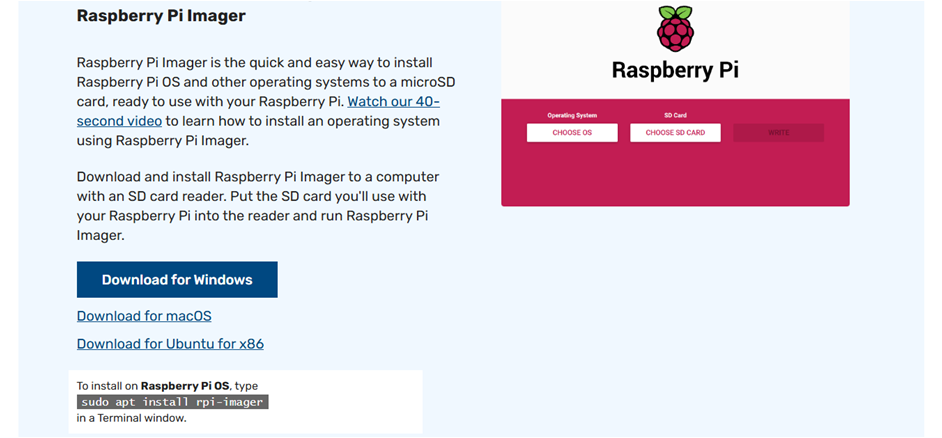
Download Raspberry Pi Imager software by going to https://www.raspberrypi.org/software/ and clicking on Download button as shown below.
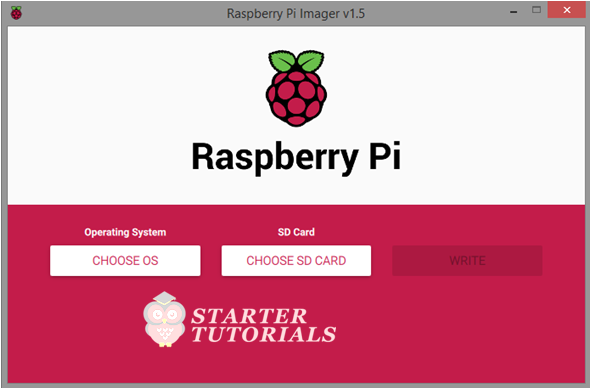
After installing Raspberry Pi Imager, open it. The interface of Raspberry Pi Imager as shown below.
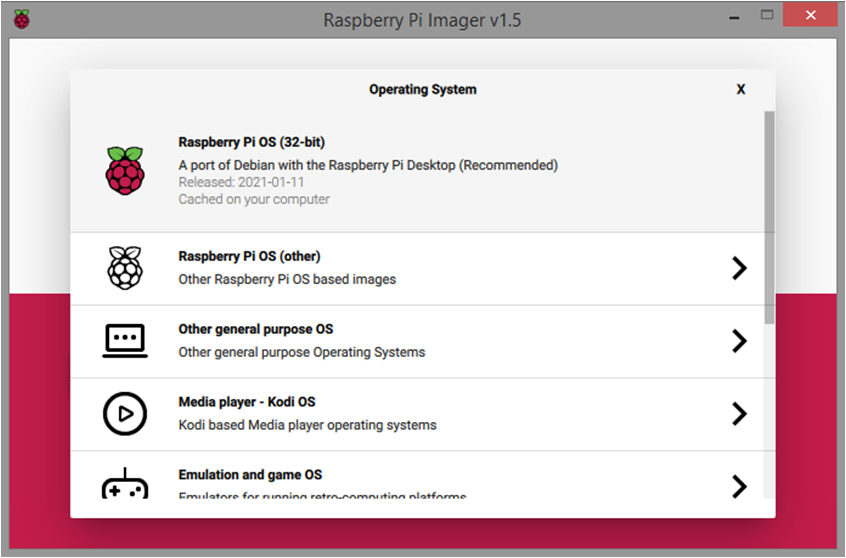
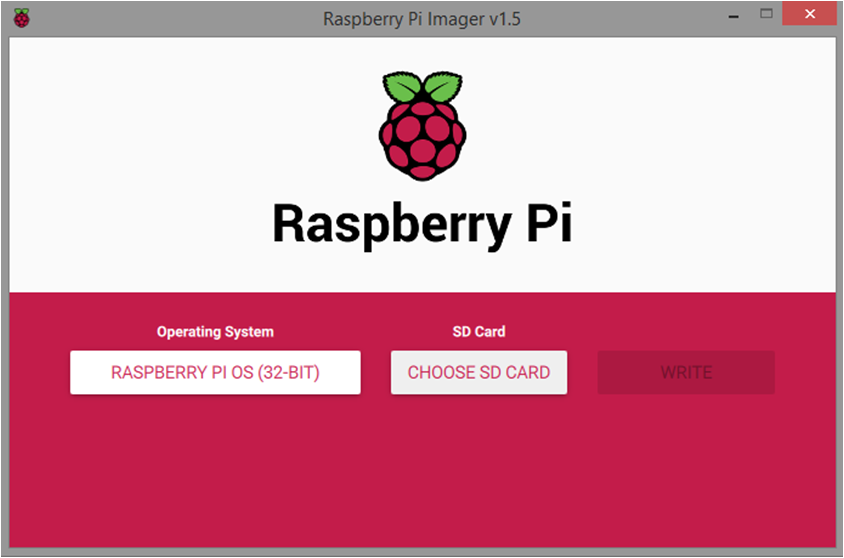
Click on Choose OS and select Raspberry Pi OS (32-bit) from the selection box as shown below.
Attach your micro SD card to computer and then click on Choose SD Card button as shown below and select the SD card.
Now, click on Write button. Raspberry Pi Imager will download the official Raspberry Pi OS online and then write it on to your SD card.
After the process of writing Raspberry Pi OS is over, open the SD card in explorer. Create a file named wpa_supplicant.conf in the SD card root folder and insert the following text into that file and save it.
country=US
ctrl_interface=DIR=/var/run/wpa_supplicant GROUP=netdev
update_config=1
network={
scan_ssid=1
ssid=”your_wifi_ssid”
psk=”your_wifi_password”
}
In the above code insert your Wi-Fi ssid and password. Also, take care of EOL (End-of-Line) conversion. It should be UNIX/Linux style.
Create an empty file named ssh in the SD card root folder. Insert the SD card into Raspberry Pi and power it on. Find the IP address of Raspberry Pi using software like Angry IP Scanner.
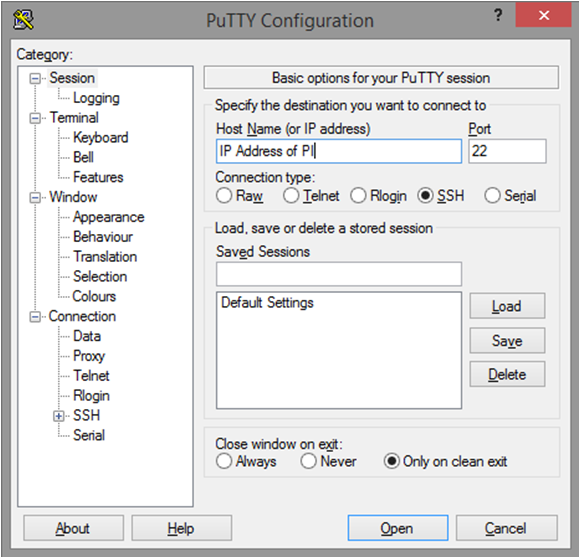
Download and open ssh client like PuTTy. Insert the IP address of Raspberry Pi and click on Open. The default username is pi and password is raspberry pi. You are now connected to your Raspberry Pi. Interface of PuTTy is shown below.
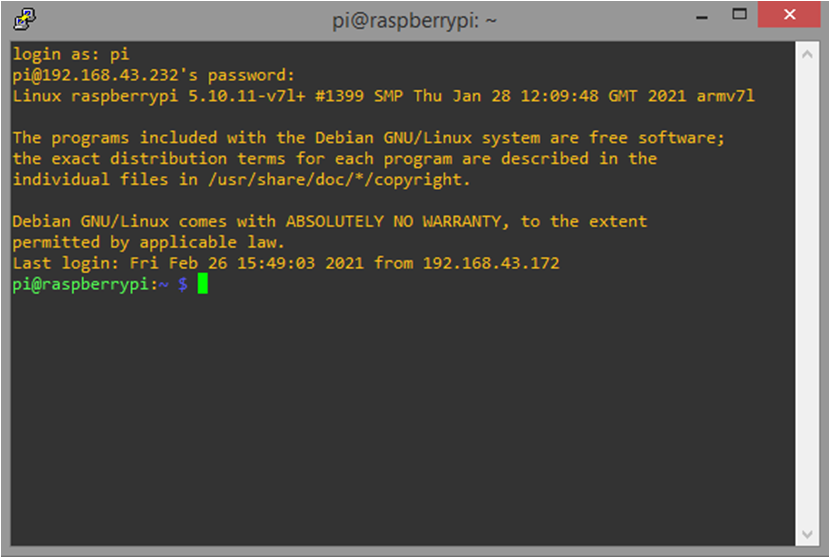
After successfully connecting to Raspberry Pi, your ssh screen will look like as shown below.
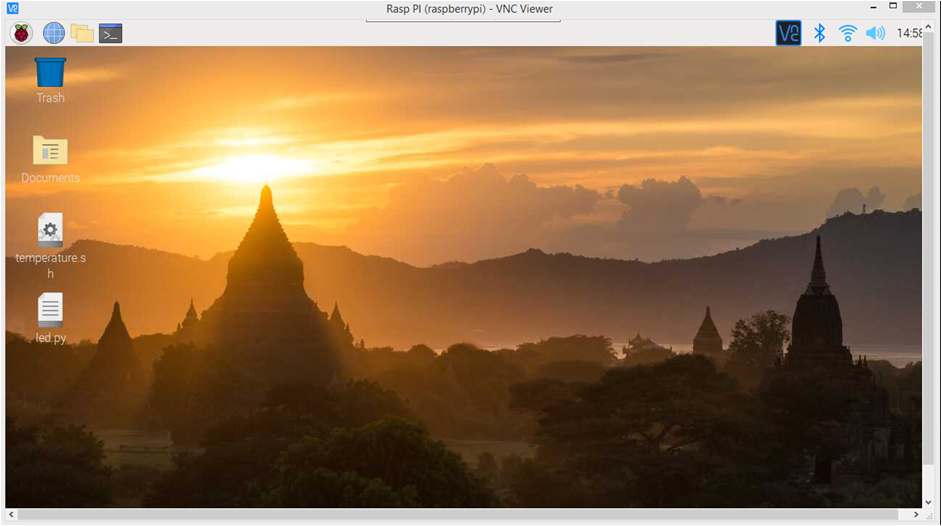
Download Real VNC viewer to establish remote desktop connection and see the GUI of Raspberry Pi running Raspberry Pi OS. After connecting successfully to your Raspberry Pi, your VNC viewer screen will look like as shown below.
Raspberry Pi Interfaces
Raspberry Pi has serial, SPI and I2C interfaces for data transfer.
Serial: Serial interface on Raspberry Pi has receive (Rx) and transmit (Tx) pins for communication.
SPI: Serial Peripheral Interface (SPI) is a synchronous serial data protocol used for communicating with one or more peripheral devices. In an SPI connection, there is one master device and one or more peripheral devices. There are five pins on Raspberry Pi for SPI interface:
- MISO (Master In Slave Out): Master line for sending data to the peripherals
- MOSI (Master Out Slave In): Slave line for sending data to a master
- SCK (Serial Clock): Clock generated by master to synchronize data transmission
- CE0 (Chip Enable 0): To enable or disable devices
- CE1 (Chip Enable 1): To enable or disable devices
I2C: The I2C interface pins on Raspberry Pi allow you to connect hardware modules. I2C interface allows synchronous data transfer with just two pins – SDA (data line) and SCL (clock line).

Suryateja Pericherla, at present is a Research Scholar (full-time Ph.D.) in the Dept. of Computer Science & Systems Engineering at Andhra University, Visakhapatnam. Previously worked as an Associate Professor in the Dept. of CSE at Vishnu Institute of Technology, India.
He has 11+ years of teaching experience and is an individual researcher whose research interests are Cloud Computing, Internet of Things, Computer Security, Network Security and Blockchain.
He is a member of professional societies like IEEE, ACM, CSI and ISCA. He published several research papers which are indexed by SCIE, WoS, Scopus, Springer and others.
Leave a Reply