Download WAMP Server from this link.
In this tutorial I will be installing WAMP Server 2.5 Version.
System specification:
Operating System: Windows 8.1 64 bit
Processor: Intel core i3 64 bit
Step – 1:
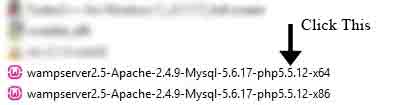
Double click wampserver2.5-Apache-2.4.9-Mysql-5.6.17-php5.5.12-x64.exe file to start the installation process as shown in the below screenshot:
Step – 2:
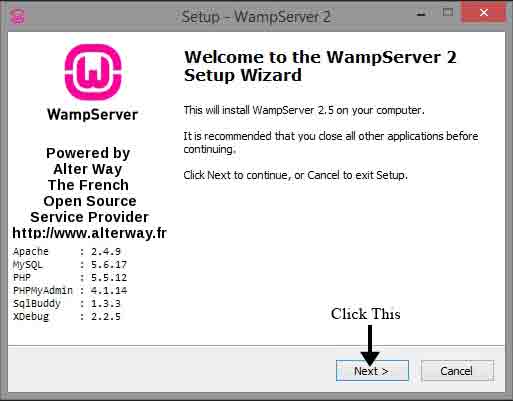
The first screen we will see is the welcome screen of WAMP server setup. Click on the Next button as shown in the below screenshot:
Step – 3:
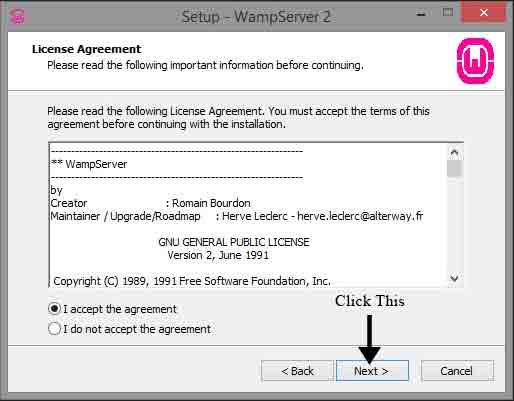
Next screen is the license agreement screen. Select I accept the agreement option and then click on Next button as shown in the below screenshot:
Step – 4:
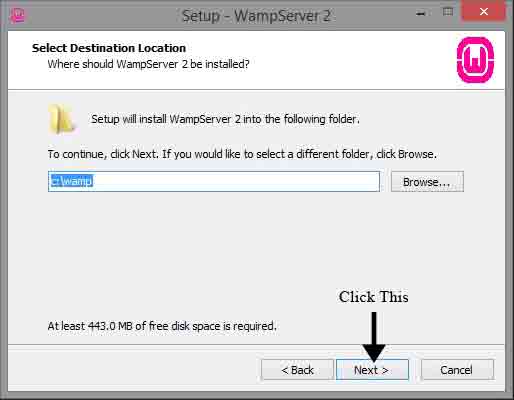
Next screen is the destination selection screen where you can select the location at which WAMP server will be installed. Leave it to the default value and click on the Next button as shown in the below screenshot:
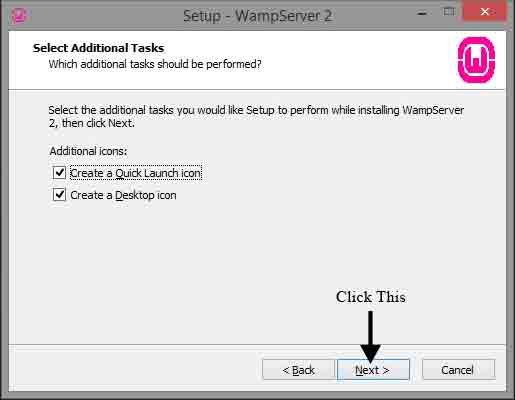
Step – 5:
Next screen shows you additional options. Select the options you want or leave them and click on Next button as shown in the below screenshot:
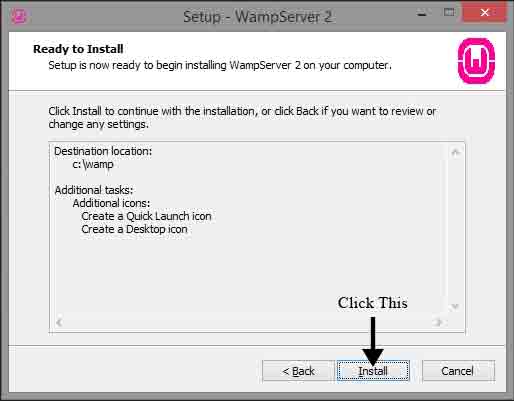
Step – 6:
Next screen shows you the installation summary screen. Click on Install button as shown in the below screenshot:
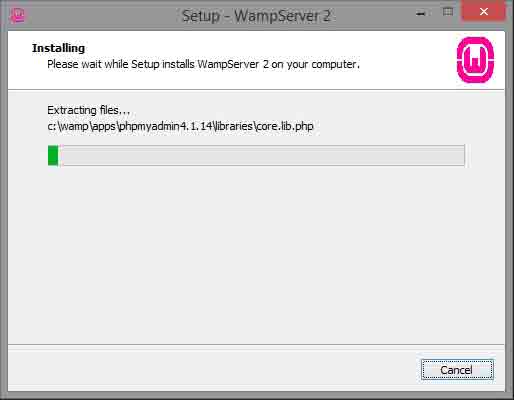
Step – 7:
In the next screen you can see the installation progress (green bar) as shown in the below screenshot:
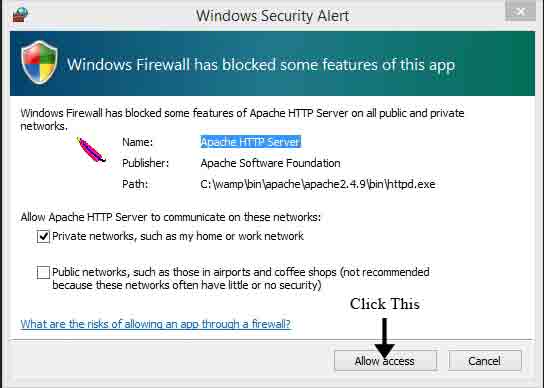
Step – 8:
In the middle of the installation, you will get a Windows Security Alert screen to allow access to Apache HTTP Server. Click on Allow access button as shown in the below screenshot:
Step – 9:
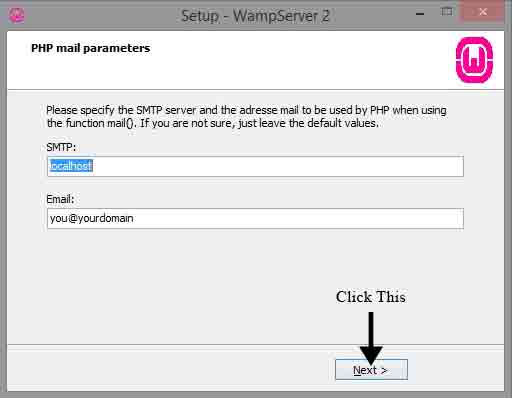
In the next screen you can set the PHP mail options. As we are not worried about email, leave those settings to their defaults and click on Next button as shown in the below screenshot:
Step – 10:
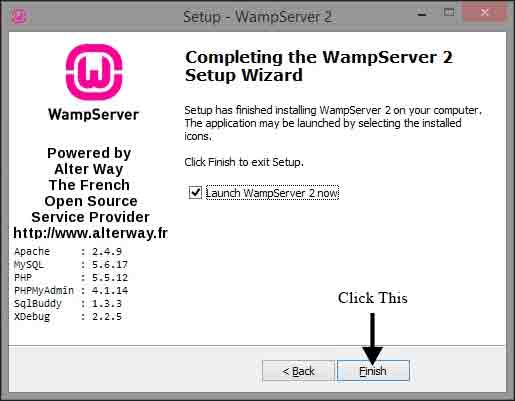
Final screen in the installation process is the setup completion screen. Take care that the option Launch WampServer 2 now option is selected and finally click on the Finish button as shown in the below screenshot:
Step – 11:
To know that whether the WAMP server is running or not, look in the system tray for the WAMP Server icon as shown in the below screenshot. If its colour is green, then server is running. If its colour is red, then one or more services had failed to start.
![]()
Step – 12:
To test whether the server is running or not in the browser (ex: Firefox), left click the WAMP server icon and select the Localhost option as shown in the below screenshot:
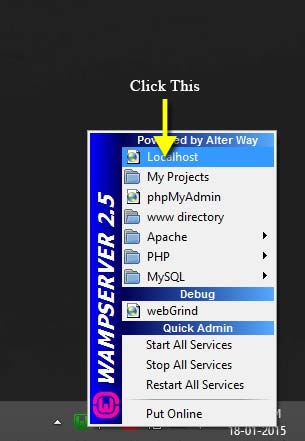
An alternative to test manually is, open the browser (ex: Firefox) and in the address bar type the URL, http://localhost and hit Enter key.
Step – 13:
If everything fine i.e., WAMP server is running smoothly, in the browser you will see the page as shown in the below screenshot after completing Step – 12.
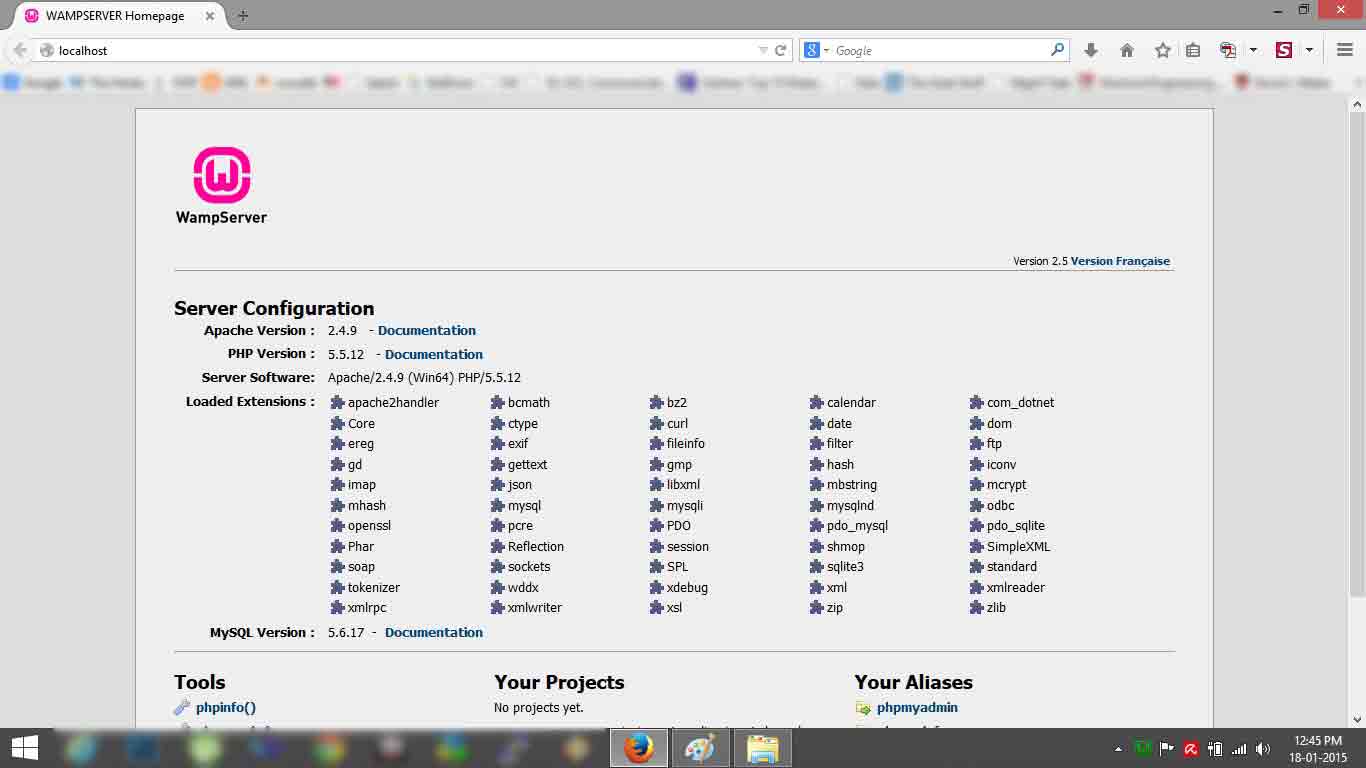
That’s it! You have installed WAMP server successfully on your machine. 🙂
Download this tutorial in PDF format here.

Suryateja Pericherla, at present is a Research Scholar (full-time Ph.D.) in the Dept. of Computer Science & Systems Engineering at Andhra University, Visakhapatnam. Previously worked as an Associate Professor in the Dept. of CSE at Vishnu Institute of Technology, India.
He has 11+ years of teaching experience and is an individual researcher whose research interests are Cloud Computing, Internet of Things, Computer Security, Network Security and Blockchain.
He is a member of professional societies like IEEE, ACM, CSI and ISCA. He published several research papers which are indexed by SCIE, WoS, Scopus, Springer and others.
Leave a Reply